From grid to glossy motif: 6 steps to photorealistic 3D rendering
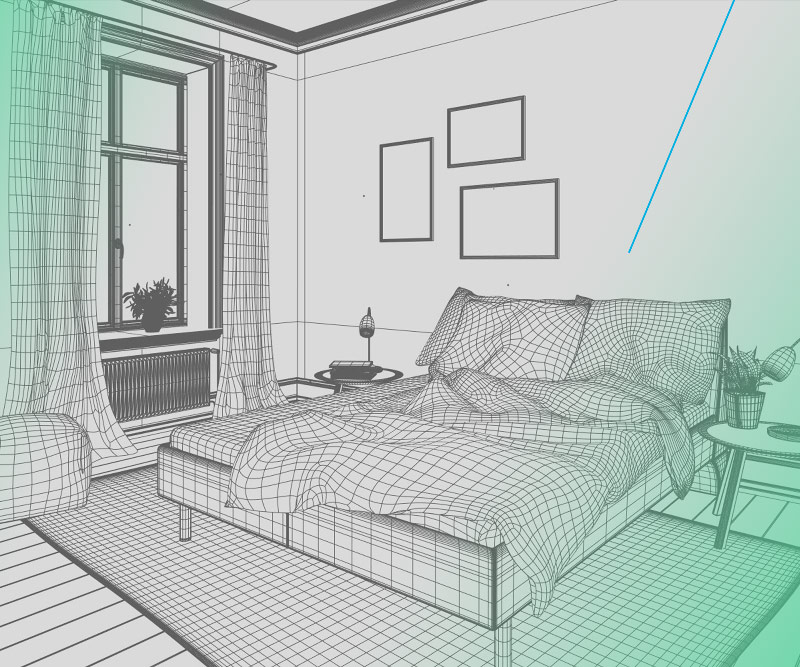
3D renderings are still a long way from becoming part of agencies’ everyday work. But they bring numerous benefits to communications, especially for more sustainable use of existing resources.
3D design is the art of not just creating virtual objects. It’s the art of bringing them to life.
– Nick, 3D-Designer
In total, a 3D visualization goes through six stages of development – whether the finished object/visualization is a static image or turned into an animation. However, one thing can be said: the higher the level of detail of a 3D object, the more realistic its effect.
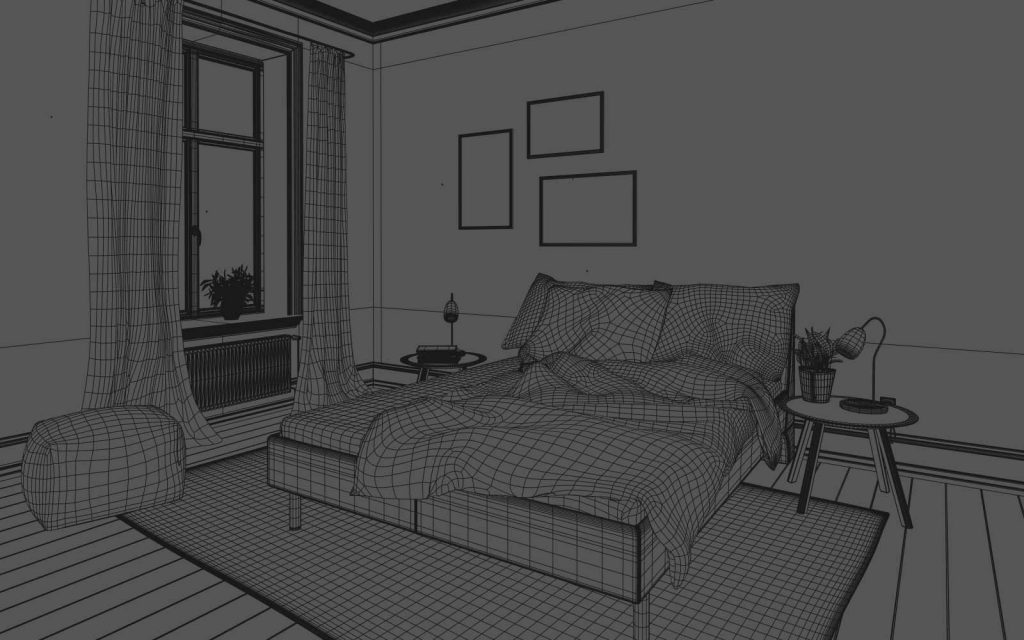
Step 1: Polygon modeling
In the first step, a so-called polygon model is developed based on existing templates. This data material can vary greatly: from hand-painted sketches, to photos, to real models, to existing CAD data. Simple polygons are assembled by the 3D designer to the desired shape in special software. The final result shows a polygon mash that already has all the necessary components.
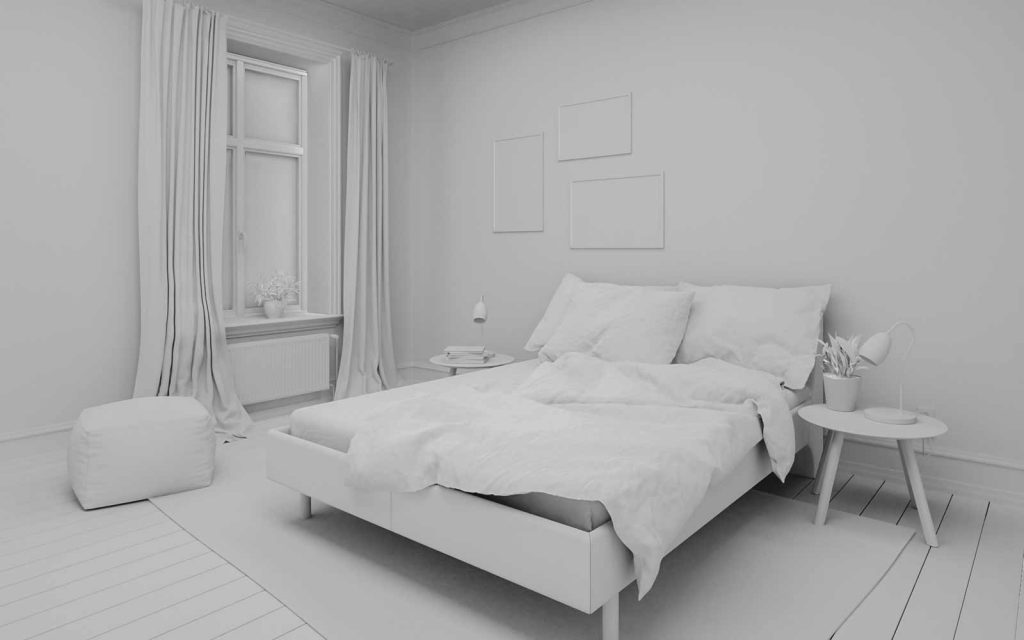
Step 2: Clay model
In this step, the 3D object in question is examined and, if possible, initial camera perspectives are already determined. At this stage, the object is usually kept in white, so as to make the previously created modeling of various components more visible. The model is called a “clay model” because it visually resembles a model made of clay or loam, as known, for example, from the automotive industry.
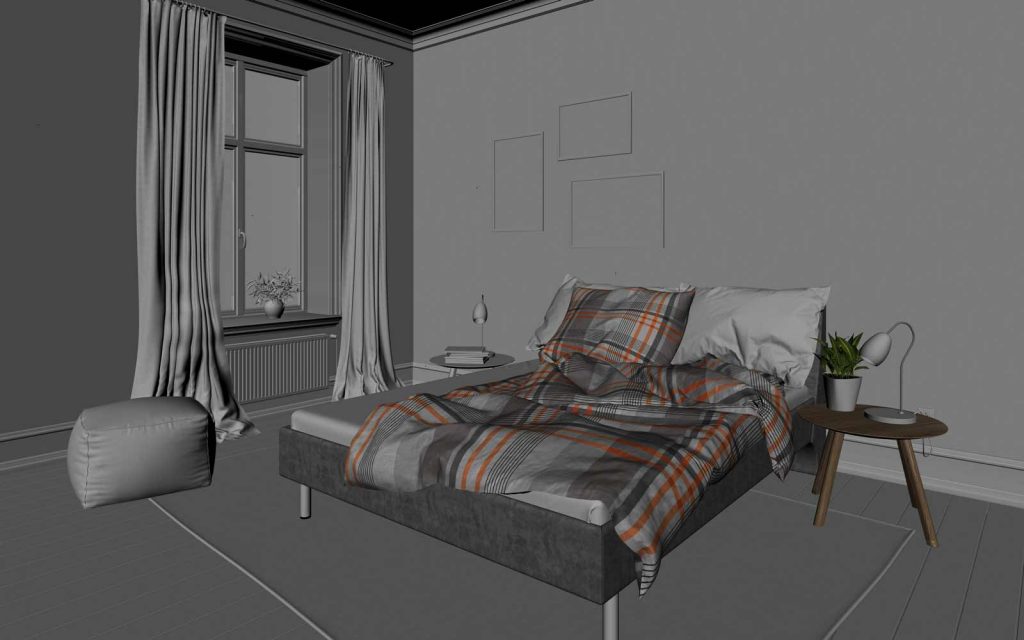
Step 3: Texturing
When texturing a 3D object, materials such as wood are digitally recreated and applied to the respective model. Here, individual properties such as gloss, roughness, colorfulness and much more can be set.
The more detailed the individual texture, the more elaborate the process. Particularly challenging for the 3D designer is UV mapping, in which the texture of existing bends or curves in the object are adjusted, as in the case of a fold in fabric, for example, in which the fiber structure pulls apart and together in reality.
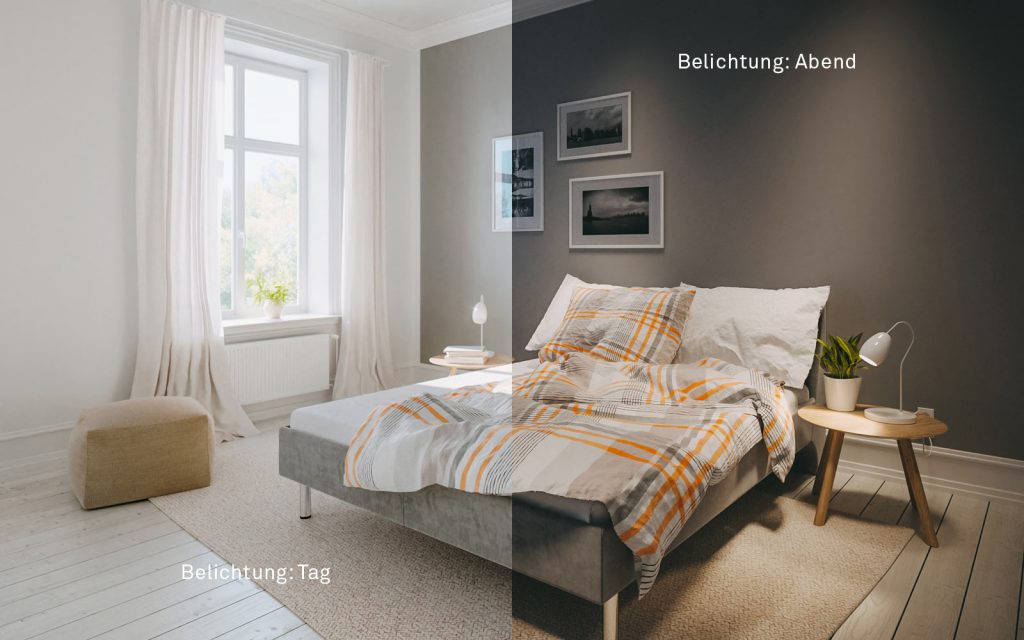
Step 4: Exposure
In the fourth processing step, the 3D object is illuminated just like in a real photo shoot. Thanks to a variety of different digital illuminants, there are no limits to the variability here either. Digital lighting makes it possible, even in classic lighting scenarios such as 3-point lighting of product photos, to create a significantly higher level of detail in a shorter time by highlighting the smallest edges or certain parts of surfaces of the digital object/product.
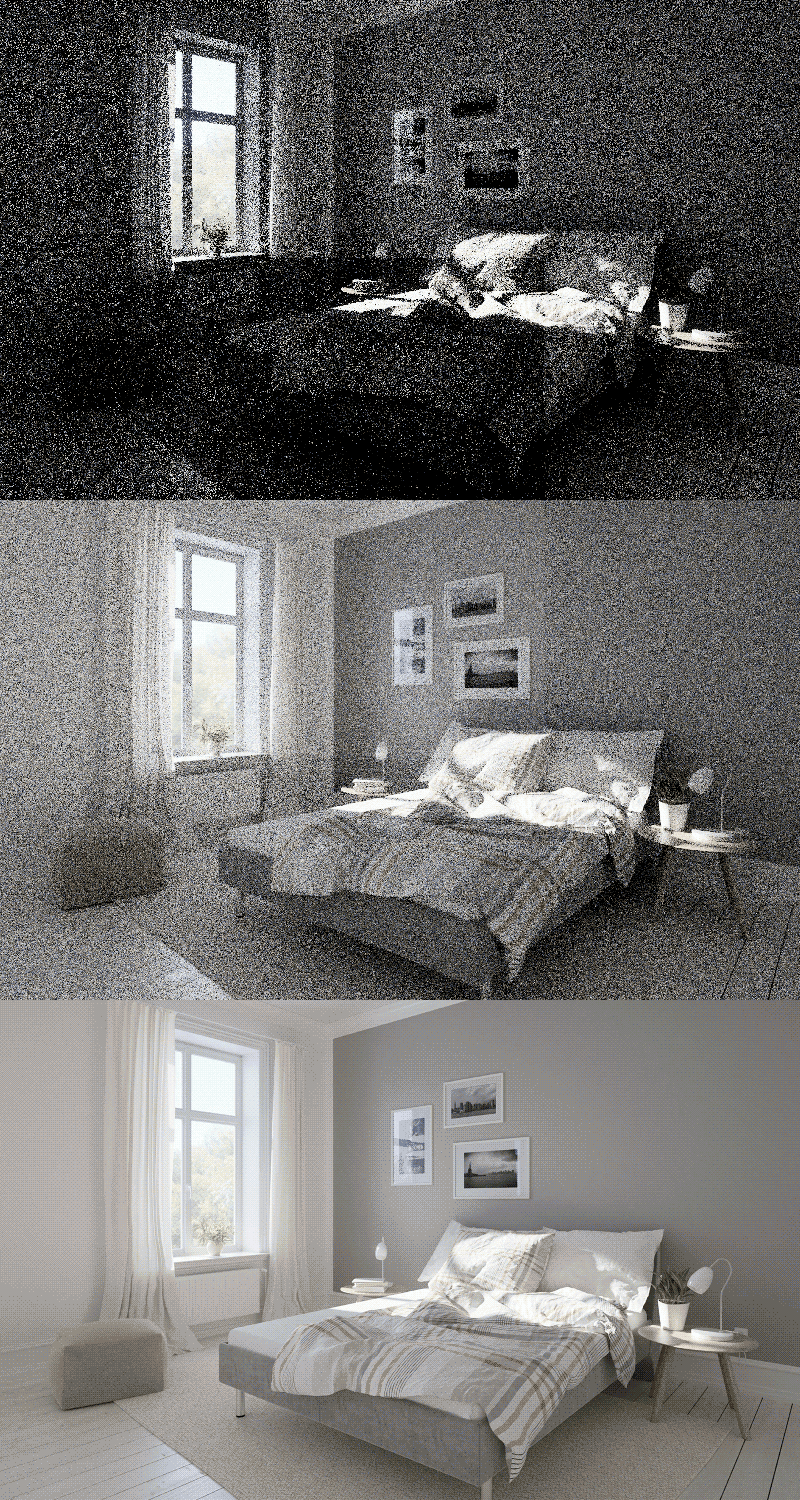
Step 5: Render
Once the 3D visualization has been finally approved, a purely technical step follows: rendering as such. From the model with all its settings, a graphic is calculated via the software. In terms of time, this purely technical process can even take days if, for example, it is an elaborate 3D animation.
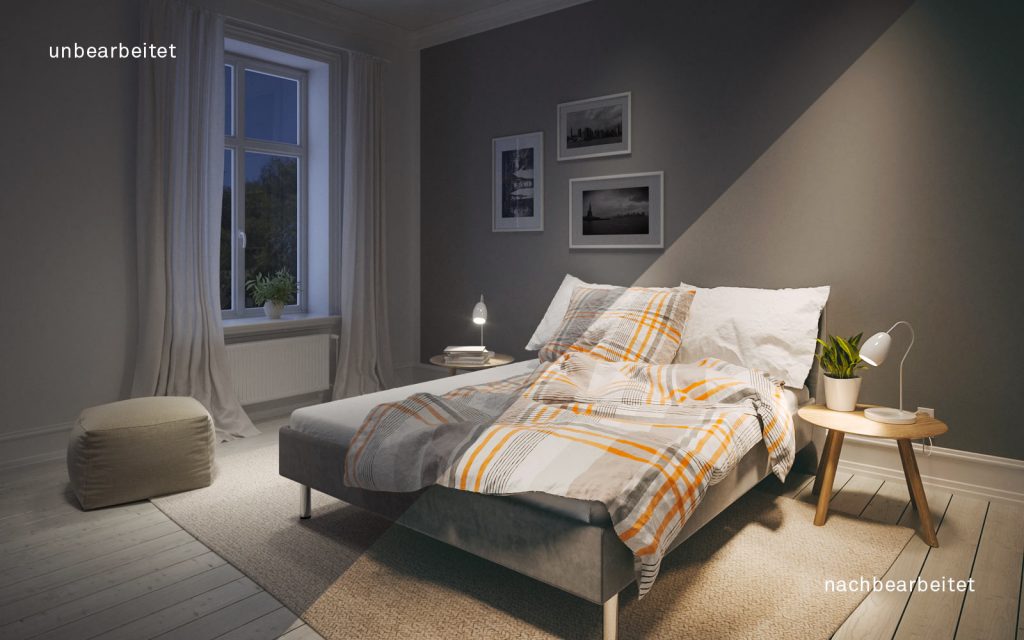
Step 6: Composing
As with classic image editing, contrasts and lighting moods are optimized so that the 3D object in question is visually connected to the background, resulting in the ultimately photorealistic look.
The resulting 3D rendering or animation can now be used flexibly. Even where classic photography or film techniques quickly reach their limits, such as with extreme large formats. In addition to flexible use, numerous other resources are also conserved on the customer side. Additional perspectives or scenes can be developed quickly and cost-effectively on demand, without the need for further time-consuming and cost-intensive shootings. Or a static motif can even be turned into an exciting animation. New products that have not even been produced yet can be presented to stakeholders in a vivid and realistic way even before they are introduced.
Much more exciting information about 3D renderings and their sustainable use can be found here.


